Welcome to
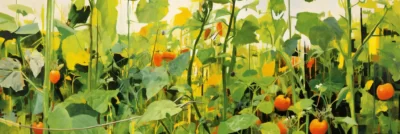
Three Stone Farm
Fresh vegetables, locally grown in Interlaken, the heart of the Finger Lakes
We strive to grow the highest quality fruit and vegetables around. Visit us at the Trumansburg Farmers Market, or give us a call and come to the farm to say hello.


Using ESPHome with Home Assistant, Step-by-Step
Installing and using ESPHome with Home Assistant is only easy if you know what to do. This is intended to…Organic Cucumber Beetle Control: Tips for Their Management
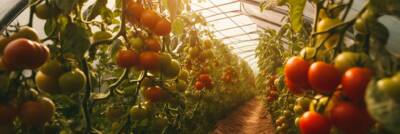
Highlights the life cycle of cucumber beetles and offers several organic methods for managing them. Including links to studies.Pyroligneous Acid for Improved Tomato Growth: A Brief Look
Pyroligneous acid (PA) is a natural liquid derived from the condensation of smoke during biochar production. This reddish-brown liquid contains…
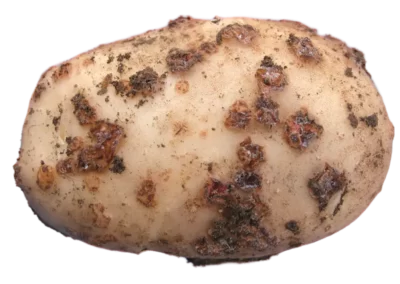
Managing Potato Scab: Prevention and Treatment Strategies
Potato scab, caused by bacteria in the Streptomyces genus, is a common disease affecting potatoes. It can reduce yields and…
Some of my line art
At one point I spent an exorbitant amount of time drawing and painting, these are a few randomly selected from…
Gingerbread House – Baby Bear
We made this gingerbread house for an Ovid library gingerbread house contest. If you don't recognize it, it's the 'Baby…
Love indeed is blind
A house once built with grandest cost With every surface painted, glossed Now stark reminder, nearness lost —For death doth…
Faces
Pen and ink sketches from a series. Not really much to say, just some sketches I did and thought I…
The Grinch Stole New Years Eve of Eve
We are part of a New Year's Eve of Eve celebration, and every year our family creates an "even better…
Halloween
Some Snippets of Winter and her family circa 2022...